
Last updated November 21, 2026
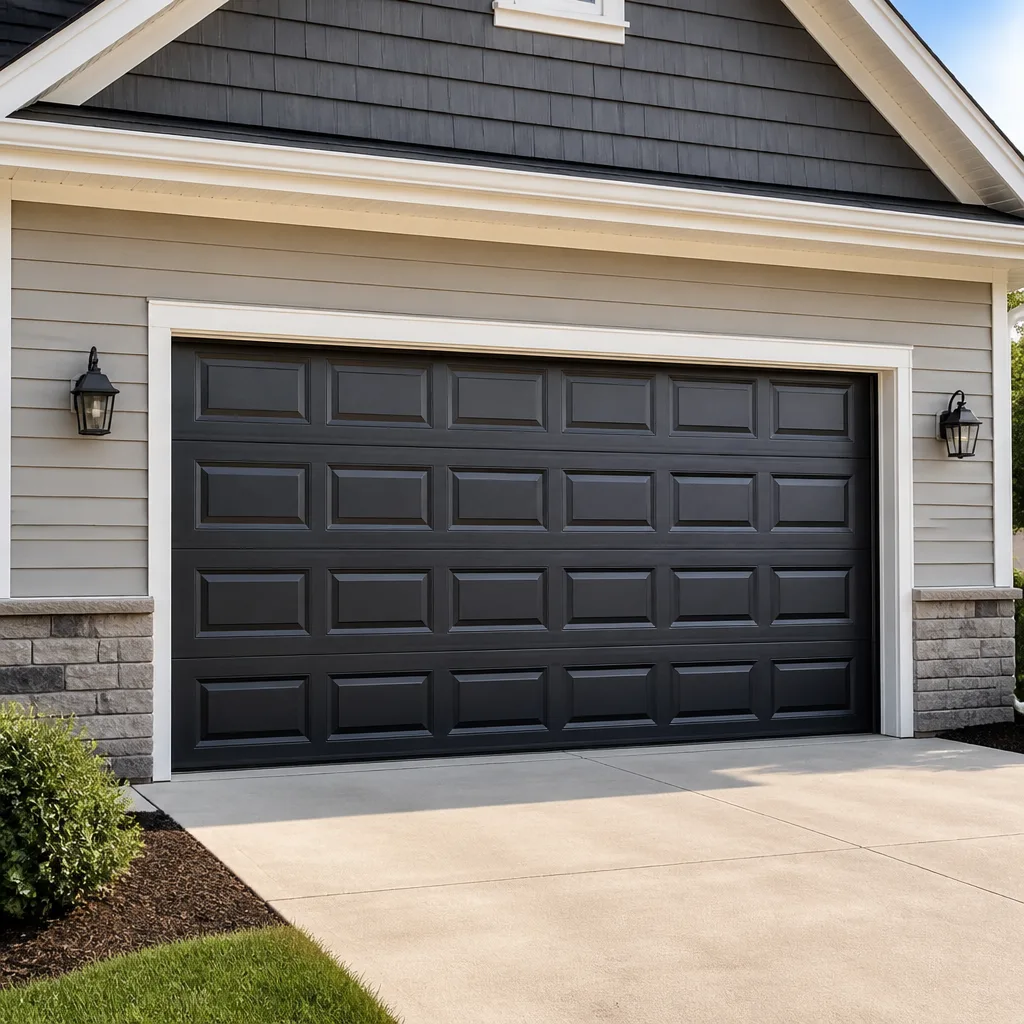 Raised-panel steel
 Carriage house
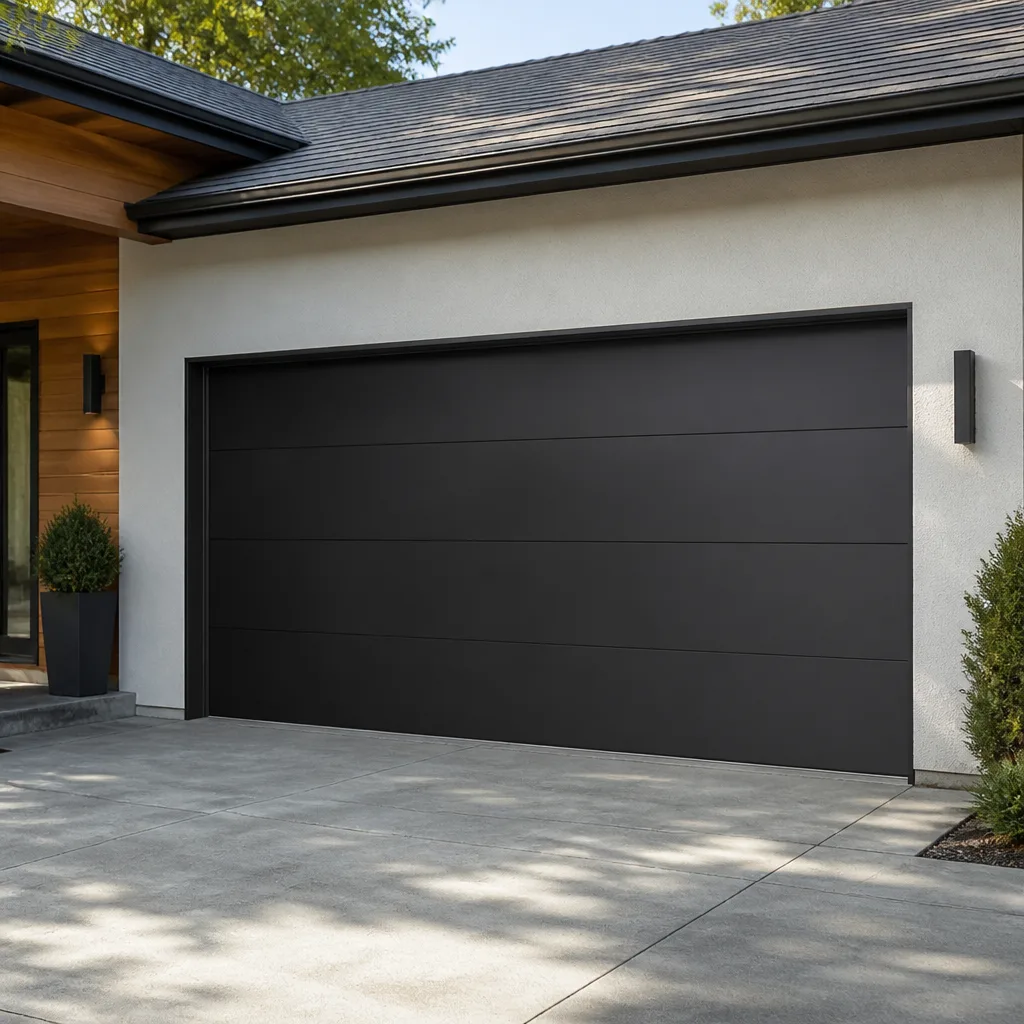 Modern flush
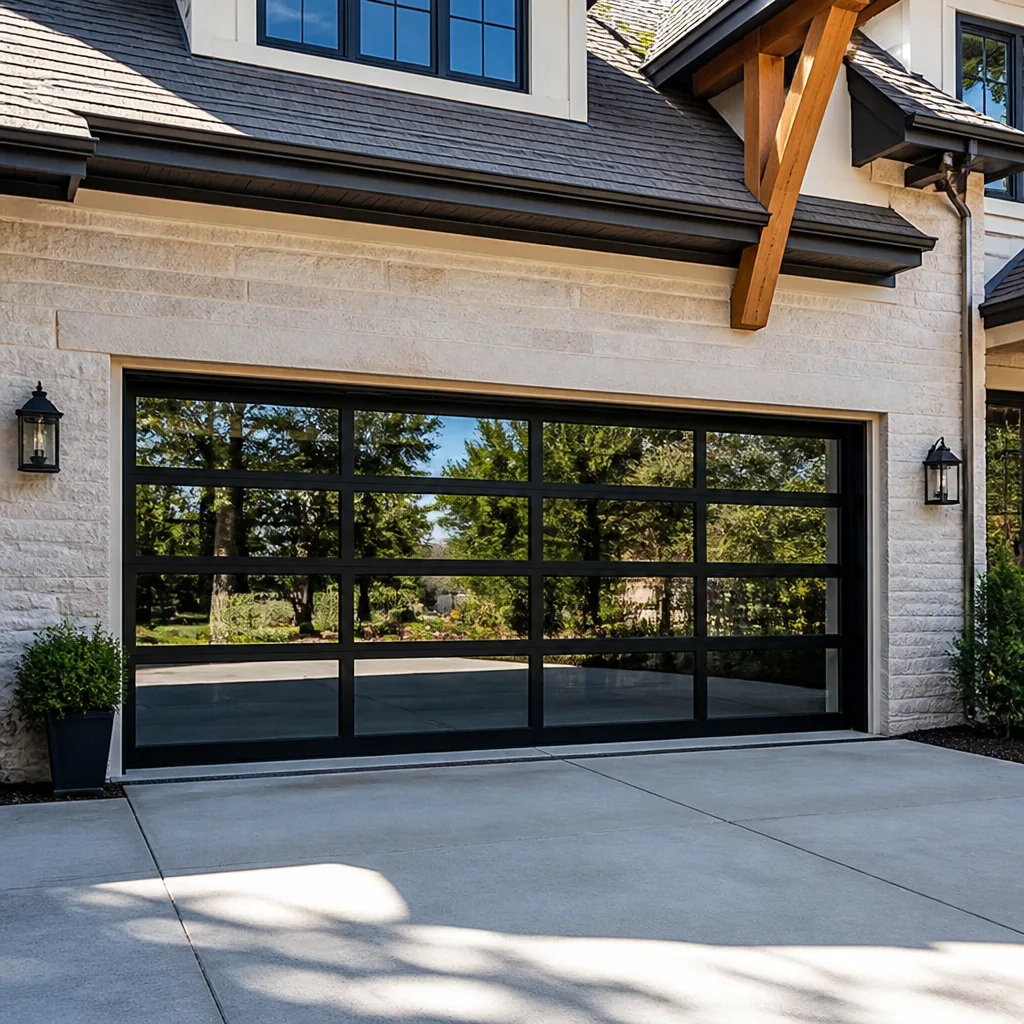 Full-view glass
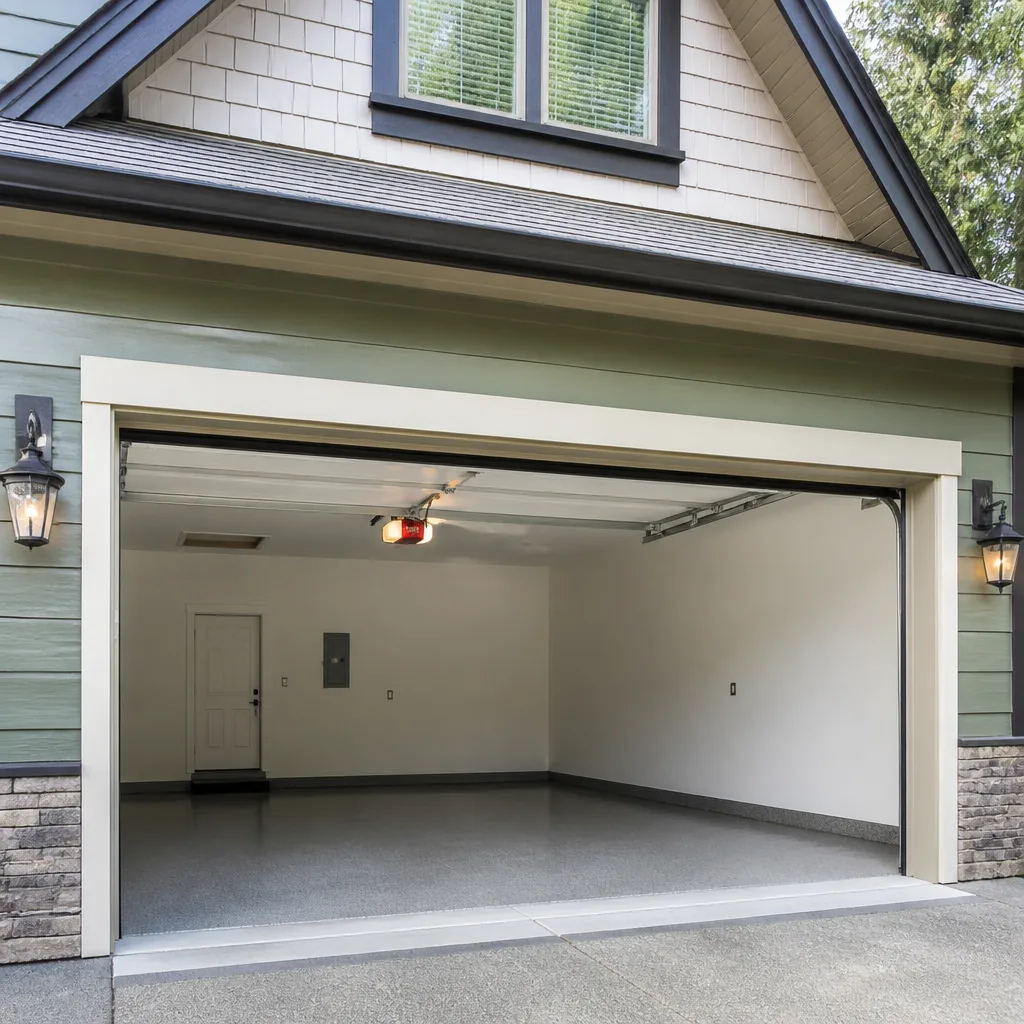 LiftMaster openers
 Chamberlain openers
Full 25-point door and opener safety check with every visit - springs, cables, rollers, tracks, and your LiftMaster or Chamberlain opener included
You get a price before we start. It does not change when the pro arrives.
Get your free estimateGarage Door Repair Maintenance Checklist for North Port Homeowners
The number-one reason garage doors in North Port fail early isn’t neglect. It’s maintenance done with the wrong products at the wrong intervals for this specific climate. The national advice you’ll find on most checklists was written for a temperate, dry part of the country, and it doesn’t hold up here. Humidity, salt carried on the breeze, and months of heavy afternoon rain change how metal rusts, how wood moves, and how sensors behave. A checklist built for Ohio will quietly let Florida hardware corrode. This guide walks through what actually matters here, from the inspection points most lists skip to the lubricant that does real damage, and how to time a full check around hurricane season.
Styles & brands we work with
- Raised-panel steel
- Carriage house
- Modern flush
- Full-view glass
- LiftMaster openers
- Chamberlain openers
Quick Answer
For a North Port home, the essential garage door maintenance routine is a monthly visual check, a lubricant refresh every 90 to 120 days rather than the national twice-a-year advice, and two structural inspections per year – one before hurricane season in May and one after it in November. Use a silicone-based or lithium-complex lubricant, not a light penetrating oil, and inspect cable ends, bottom brackets, and roller stems for corrosion at every check. Anything involving springs, cables, or the opener’s high-voltage wiring belongs with a trained technician.
Table of Contents
- Why North Port’s Climate Changes the Maintenance Schedule
- Salt-Air Corrosion Inspection Points Most Checklists Omit
- The Right Lubricant Makes the Schedule Almost Irrelevant
- Seasonal Timing: The May Check vs. the November Check
- Monthly Safety Tests You Can Do Yourself
- How to Test Auto-Reverse (It Drifts Here)
- Wood Section and Fastener Checks for Swollen Doors
- Opener Maintenance and Brand-Specific Care
- Common Mistakes to Avoid
- When to Call a Professional
- Frequently Asked Questions
- The Bottom Line
Why North Port’s Climate Changes the Maintenance Schedule
Most garage door maintenance advice is written for average U.S. conditions. North Port isn’t average. The region sits in a humid subtropical zone with long, warm, intensely wet summers and short, mild winters. That combination does three things to a garage door that dry-climate checklists don’t account for. First, humidity keeps metal surfaces damp far more of the year, so oxidation starts sooner and progresses faster than the twice-a-year inspection interval assumes. Second, the air carries fine salt particles inland from the Gulf on prevailing breezes, and those particles settle on unpainted steel and aluminum. Third, the dramatic temperature swings on a still morning – cool at sunrise, hot by early afternoon – expand and contract metal just enough to loosen fasteners over months, not years.
The practical result: a North Port homeowner should think in terms of a 90-to-120-day lubrication interval and a monthly visual look, not the spring-and-fall ritual you’ll read on national blogs. Hardware that would last a decade in a dry climate can start showing surface rust within a couple of seasons here if it’s left unprotected. This isn’t a reason to panic. It’s a reason to look more often, use the right products, and catch small corrosion before it eats into a cable end or a roller stem, where it becomes a genuine safety concern rather than a cosmetic one.
If your door is already showing early rust at the hardware and you want an expert opinion on whether it’s cosmetic or structural, our team can take a look. That’s part of what garage door repair covers here, and it’s a quick visit rather than a big project.
Salt-Air Corrosion Inspection Points Most Checklists Omit
Standard checklists tell you to look at the rollers and the track. They almost never mention the three spots where salt and humidity do the most hidden damage: the cable ends, the bottom brackets, and the roller stems. These are the failure points that turn a routine tune-up into a snapped-cable repair. Here’s where to look and what to look for.
- Cable ends. Where the lifting cable terminates at the bottom bracket or the drum, look for fraying, discoloration, or a chalky white residue. Cables are under enormous tension, and a corroded end is where a strand is most likely to fail first.
- Bottom brackets. The metal bracket that anchors the bottom of the door and holds the cable is under near-constant load. Surface rust here quickly becomes pitting, and pitting weakens the bracket. This is a component you should never adjust yourself – it’s under spring tension even when the door looks relaxed.
- Roller stems. The metal pin that runs through each roller and sits in the hinge wears fastest at the point where it enters the hinge, because that’s where moisture collects. A stem that looks fine from the front can be quietly rusted where it’s seated. Binding rollers are the first sign.
Check these with a flashlight and a rag. If you see rust that flakes off, white powdery residue, or a cable end that looks frayed, that’s a call-the-professional moment. A cable that lets go under tension can cause serious injury, so inspect it but don’t touch it. Corrosion prevention on these points is entirely about keeping them clean and lightly protected, and the product you choose for that matters more than most people realize.
Salt also accelerates wear inside hinges, so wipe them down at every quarterly check. If you’re already seeing corroded hardware and binding parts, it may be time for a closer look – our North Port Garage Door Repair Co technicians investigate corrosion-related failures as a routine part of the job.
The Right Lubricant Makes the Schedule Almost Irrelevant
Here’s the counterintuitive part. Most homeowners reach for the blue-and-yellow can of WD-40, spray the springs and hinges, and call it maintenance. For a garage door in North Port, that product does more harm than good. Standard WD-40 is a light penetrating oil, not a lasting lubricant. It evaporates off within days, and in humid air it actually attracts and holds moisture against the metal. Applied on Florida hardware, it accelerates corrosion at the exact points you’re trying to protect. It’s the wrong tool for the job – useful for loosening a rusted bolt, not for protecting a door.
What actually works on hinges, rollers, and the torsion springs is a silicone-based spray or a lithium-complex grease applied sparingly. Both leave a durable film that repels moisture and doesn’t attract dirt the way grease on an exposed surface sometimes can. A few guidelines:
- Use silicone spray on hinges, rollers, and the ball bearings where the roller stems seat.
- Use white or standard lithium grease on the torsion springs and on the opener’s rail and chain if your opener uses one.
- Never use WD-40 as a stand-in for either. It’s a solvent, not a long-term protectant.
- Never grease the track. The track should stay clean and dry – grease on the track collects grit and makes rollers bind.
- Wipe off any overspray before it collects dust.
The interval matters, but the product matters more. With the right silicone and lithium products, you can stretch lubrication to every 90 to 120 days in North Port and still keep hardware protected. With the wrong product, you can lube every month and still watch rust set in. If your door is binding or the springs squeal even after a fresh application, that’s worth a professional look – garage door spring repair specialists can tell the difference between a lubrication problem and a spring that’s approaching the end of its service life, which isn’t something to diagnose by ear alone.
Seasonal Timing: The May Check vs. the November Check
North Port’s calendar gives you two natural maintenance windows, and they’re different jobs. The pre-hurricane-season inspection happens in May, before the June-through-November storm window opens. The post-season check happens in November, once the season has passed. Treat them as two halves of the same picture rather than a duplicate task.
The May check is about structural readiness. You want the door and its tracks to be as sound as possible before wind and driving rain test them. That means checking every track anchor bolt and hinge fastener for tightness, confirming the door is lubricated and moving freely, verifying the auto-reverse safety feature works, and looking at door panels for any loose sections that wind could work on. A door that’s marginal in May can become a serious liability in a storm. If wind rating matters to you, that’s a conversation about your specific door and opener setup – we can talk it through if you’re planning ahead.
The November check is a post-storm assessment. Southwest Florida gets heavy rain and wind every year, and the November inspection is about spotting what the season left behind: bent or misaligned tracks, water intrusion around the door seals, loosened fasteners, and any corrosion that got worse under months of wet conditions. It’s also the time to check that the door still opens and closes smoothly after all that weather, and that the opener didn’t take on moisture.
If you’re coming out of a rough season and something in the door just isn’t sitting right, the team closes that gap on a service call. Call (877) 600-5101 and we’ll schedule a look. We answer 24/7, and dispatch runs 7am to 7pm, Sunday through Friday.
Monthly Safety Tests You Can Do Yourself
A handful of checks are safe for any homeowner to run and catch problems early. These carry no risk of injury and take only minutes. Do them once a month, ideally on the same day so you remember.
- Visual inspection of springs, cables, and brackets. Look – don’t touch. A spring that has snapped or a cable that’s frayed is a warning sign, and you can see it from the floor.
- Obstruction test. Place a small object, like a 1-inch block of wood, on the ground in the door’s path. Close the door. It should reverse on contact with the block.
- Force test. With the door open, hold the bottom edge with both hands and push it upward, then try to pull it down when it’s partway open. A properly balanced door should hold its position or move with gentle resistance – not drop or resist hard.
- Photo-eye test. Block the safety sensor diode with an object like a piece of tape or a cardboard flap. The door should not close.
- Fastener spot check. With a screwdriver, gently snug any hinge or track bolt that looks loose. Don’t over-tighten – hand-tight is enough.
The one thing you should never do yourself is adjust, replace, or even touch a torsion spring or a lifting cable. Those parts store enormous energy, and a spring that’s even slightly unseated can release that energy violently. If your monthly check turns up a spring that looks fatigued, a cable that’s frayed, or a door that’s hard to lift, that’s a job for a trained technician. Call us at (877) 600-5101 and we’ll send someone out to check it properly.
How to Test Auto-Reverse (It Drifts Here)
The auto-reverse feature is one of the most important safety systems on any garage door – and in North Port, it drifts out of adjustment more often than in drier climates. High humidity fogs the plastic sensor lenses on the photo-eye units, and the door’s mechanical resistance changes slightly when metal and wood swell. Both of these affect how reliably the door reverses. That’s not a safety failure; it’s drift, and it needs testing more often than national advice suggests – monthly rather than yearly.
Here’s how to test it, safely:
- With the door fully open, clear the doorway and the track of people and objects.
- Lay a 1-inch block of wood flat on the ground, centered in the door’s path.
- Press the wall control to close the door.
- When the bottom edge meets the block, the door should reverse immediately and travel back to the open position.
- If the door continues to press on the block, or reverses only partway, the sensitivity or force setting needs adjustment.
The second half of the test uses the photo-eye sensors at the base of the tracks. Block them with something solid and press close – the door should not move. If it does, the sensors need cleaning or realignment.
Adjusting the opener’s force and sensitivity is usually a matter of a control or a set of dials on the opener unit, and we’re glad to show you how that works on your model. We’re factory-familiar with LiftMaster, Chamberlain, Genie, and other major brands, so the buttons and settings are familiar. If you’re not sure where the controls are or you’ve adjusted and the door still won’t reverse cleanly, our garage door opener repair work covers exactly this.
Wood Section and Fastener Checks for Swollen Doors
Wood garage doors are still common in North Port, especially on older homes and on carriage-style installations. Wood moves with humidity in a way metal doesn’t. A section that fits perfectly in April can be tight by August, and the fasteners that hold it will loosen enough to need attention by fall. The inspection you want here is about catching swelling before it splits.
Here’s a numbered, repeatable method:
- Run a hand along the inside edge of each section. Feel for soft spots, especially near the bottom rail where rain wicks in. Soft wood is a sign of water intrusion and rot.
- Check every section hinge and the bottom roller brackets with a light touch. Snug any bolt that spins freely. Don’t force a tight one – you’ll strip the wood around it.
- Look for hairline splits along the vertical grain. A split that’s just starting is worth sealing with a penetrating wood stabilizer; a split that’s already opened is a sign the section may need replacement.
- Test the door’s balance and swing. A door that suddenly rubs against the jamb or drags on one side is telling you a section has swelled or a hinge has loosened.
- Check the bottom weather seal. A seal that’s pulling away lets in more moisture, which accelerates the swelling problem. Replacing the seal is a simple job that does real preventive work.
If several sections are soft or splitting, patching won’t solve it. A door replacement, or a section replacement if the model allows it, is the honest answer – see garage door repair for the repair route. Either way, it’s worth having someone look before you sink effort into a door that’s structurally done.
Opener Maintenance and Brand-Specific Care
The opener is the brain of the system, and it’s also the part most homeowners ignore until it fails. A monthly look at the opener takes two minutes and catches most problems before they strand you. Different brands have slightly different service needs – Chamberlain and LiftMaster are closely related and behave almost identically, while Genie openers often have a more exposed rail that needs lint and dust cleaning. If your opener is older, contact a specialist for brand-specific service rather than relying on generic checklists.
At minimum, do these checks every few months:
- Clean the opener housing. Dust and lint collect in the motor vents and on the drive rail. A soft brush or a can of compressed air handles it.
- Test the wall control and both remotes. If one works and another doesn’t, the battery or the pairing is the problem, not the opener.
- Inspect the rail and chain or belt. With the door closed, look for loose chain sag or a belt that looks worn. On a chain-drive opener, a little slack is normal; a lot is a sign the chain needs tensioning.
- Check for unusual noise. A grinding, squealing, or clicking sound that wasn’t there before is the opener telling you something’s wearing.
- Verify the emergency release. Pull it, confirm the door disconnects from the opener, then re-engage it by hand and test the door with the control again.
If you’re hearing noise, seeing a flashing error light on the back of the unit, or the door only moves partway, the opener itself has an issue that needs diagnosis. Our team is factory-familiar with eight major brands including LiftMaster, Chamberlain, Genie, Clopay, Amarr, Wayne Dalton, Craftsman, and Raynor – so we’re fast on brand-specific problems. That’s where garage door opener repair comes in. If it’s a spring problem masquerading as an opener problem, spring repair is a separate job, and we’ll tell you which one you’re actually dealing with.
Common Mistakes to Avoid
We’ve seen these exact mistakes cost North Port homeowners unnecessary repairs. Here they are, so you can skip them.
- Using WD-40 as a lubricant. It’s a solvent, not a protectant. In North Port’s humidity it attracts moisture and actually speeds up rust. Use silicone or lithium grease instead.
- Following a national twice-a-year lubrication schedule. In this climate, that interval is too long. Aim for every 90 to 120 days, not every six months.
- Greasing the track. The track needs to stay clean and dry. Grease collects grit and binds your rollers, which makes the door work harder and wears the opener.
- Skipping cable-end and bottom-bracket checks. These hidden spots are where salt and humidity do the most damage, and where a failed part is most dangerous. Look every month, touch nothing.
- Adjusting a torsion spring or lifting cable yourself. These parts store massive energy. This is the one maintenance task that should always go to a trained technician. The risk of serious injury isn’t worth the saved labor.
- Ignoring sensor lens condensation. When the photo-eye lenses fog, the auto-reverse system drifts out of reliable function. Clean the lenses monthly and retest the safety feature each time.
- Tightening every fastener with force. On a wood door, over-tightening a section bolt strips the wood and makes the problem worse. Hand-tight is enough.
Avoiding these alone will extend the life of most North Port garage doors significantly. The rest is routine upkeep and a willingness to call when something looks off.
When to Call a Professional
Some jobs are homeowner work. Others belong with a trained technician, every time. Call a professional if you see a spring that’s snapped, visibly stretched, or has a gap in its coils; a cable that’s frayed, rusted at the end, or loose; a door that drops rapidly when you release it partway open; an opener that grinds, hums without moving the door, or shows an error light you can’t clear; a track that’s bent, misaligned, or pulling away from the frame; or a bottom bracket that’s cracked or heavily corroded. Any of these carries a real safety or structural risk, and the fix isn’t a DIY job.
North Port Garage Door Repair Co offers free estimates in North Port – call (877) 600-5101. We answer 24/7, and fast dispatch runs from 7am to 7pm, Sunday through Friday. Whether it’s a snapped spring, a failing opener, or a full replacement, we have the parts and the experience, and your garage door is all we do.
Frequently Asked Questions
Every 90 to 120 days is the right interval for North Port’s humid climate, which is roughly twice as often as national advice suggests. The product matters as much as the frequency: use a silicone-based spray on hinges and rollers and a lithium-complex grease on the springs, and skip WD-40 entirely – it holds moisture against the metal and speeds up rust. Call (877) 600-5101 if you’re not sure which product to use on your door.
Yes, same-day service is often available for a door that won’t open or close. A door stuck halfway leaves the garage and often the house exposed, so it’s treated as urgent. Call (877) 600-5101, we answer 24/7, and dispatch runs from 7am to 7pm, Sunday through Friday. The price is quoted and agreed before any work starts.
A single torsion spring repair in North Port typically runs $180 to $340, and a matched pair that’s replaced together is about twice that. The written estimate sets the final price, and we quote before the work begins. Call (877) 600-5101 and we’ll give you an exact figure once we’ve seen the door.
Humidity is the usual culprit. Photo-eye sensor lenses fog up in North Port’s wet air, and metal and wood components swell slightly, both of which affect how reliably the door reverses. Clean the sensor lenses once a month and retest the safety feature each time. If it still drifts after cleaning, the opener’s force or sensitivity needs adjustment – call (877) 600-5101 and we’ll sort it.
Yes, it can be. Both the bottom bracket and the cable ends are under spring tension, and corrosion weakens them until a sudden failure sends either part flying. That’s why we flag them for monthly visual inspection but recommend against touching them. If you see rust that flakes off or a frayed cable, call (877) 600-5101 and keep everyone clear of the door until a technician looks at it.
The written estimate is the price. We look at the door, quote the job, and agree it with you before any work starts. If we discover something unexpected – a second issue, a part that’s failed – we stop and talk with you before doing anything further. Nothing gets added to the invoice without your okay. Call (877) 600-5101 for a free estimate.
The Bottom Line
Garage door maintenance in North Port isn’t the same as maintenance anywhere else. The right products (silicone and lithium, not WD-40), the right intervals (90 to 120 days, not twice a year), the right inspection points (cable ends, bottom brackets, and roller stems), and the right seasonal rhythm (a structural check in May before hurricane season and a post-storm review in November) make the difference between a door that lasts and a door that fails early. Skip the national-average checklist and use a local one. And when something needs a professional hand – springs, cables, opener failures, or a door that won’t move – call the team whose only trade is garage doors. Call (877) 600-5101 for a free estimate. We answer 24/7, and dispatch runs 7am to 7pm, Sunday through Friday.
Written by the team at North Port Garage Door Repair Co.
See the difference
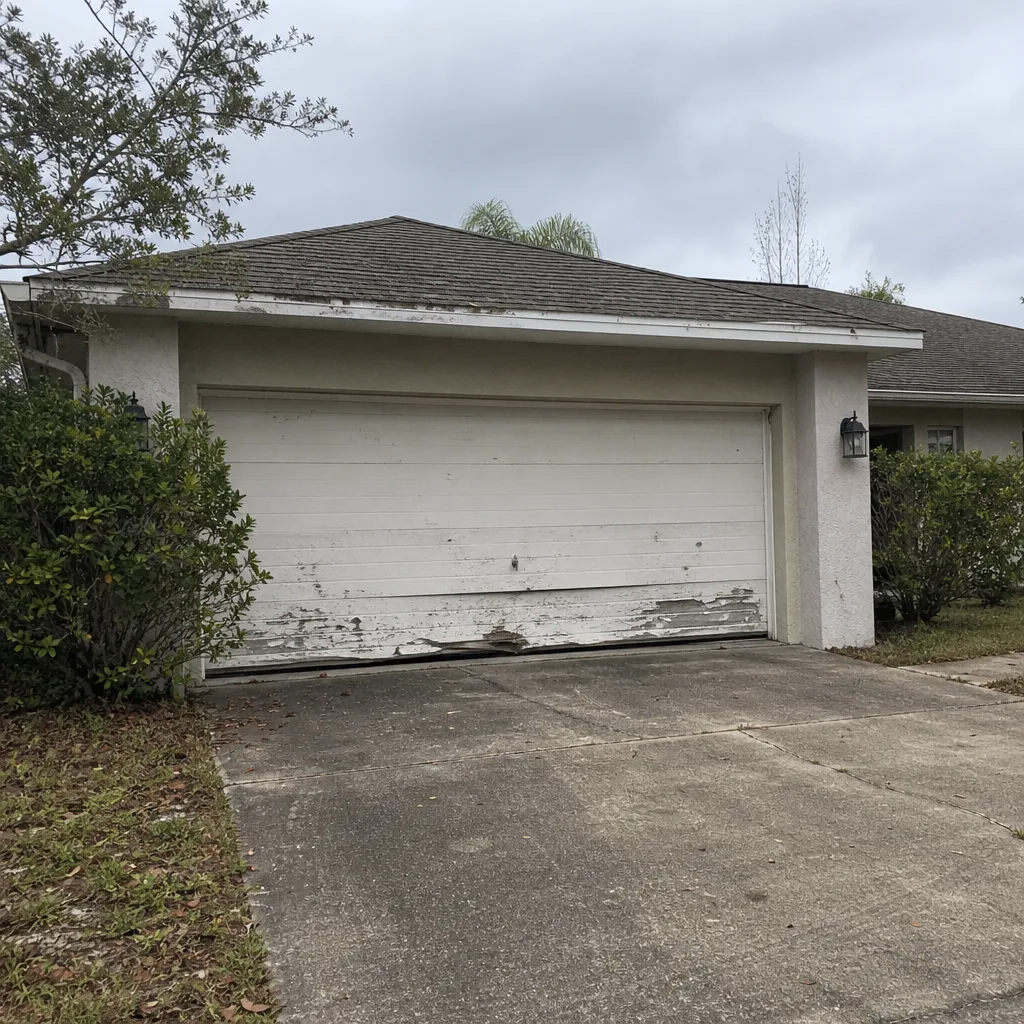 Before
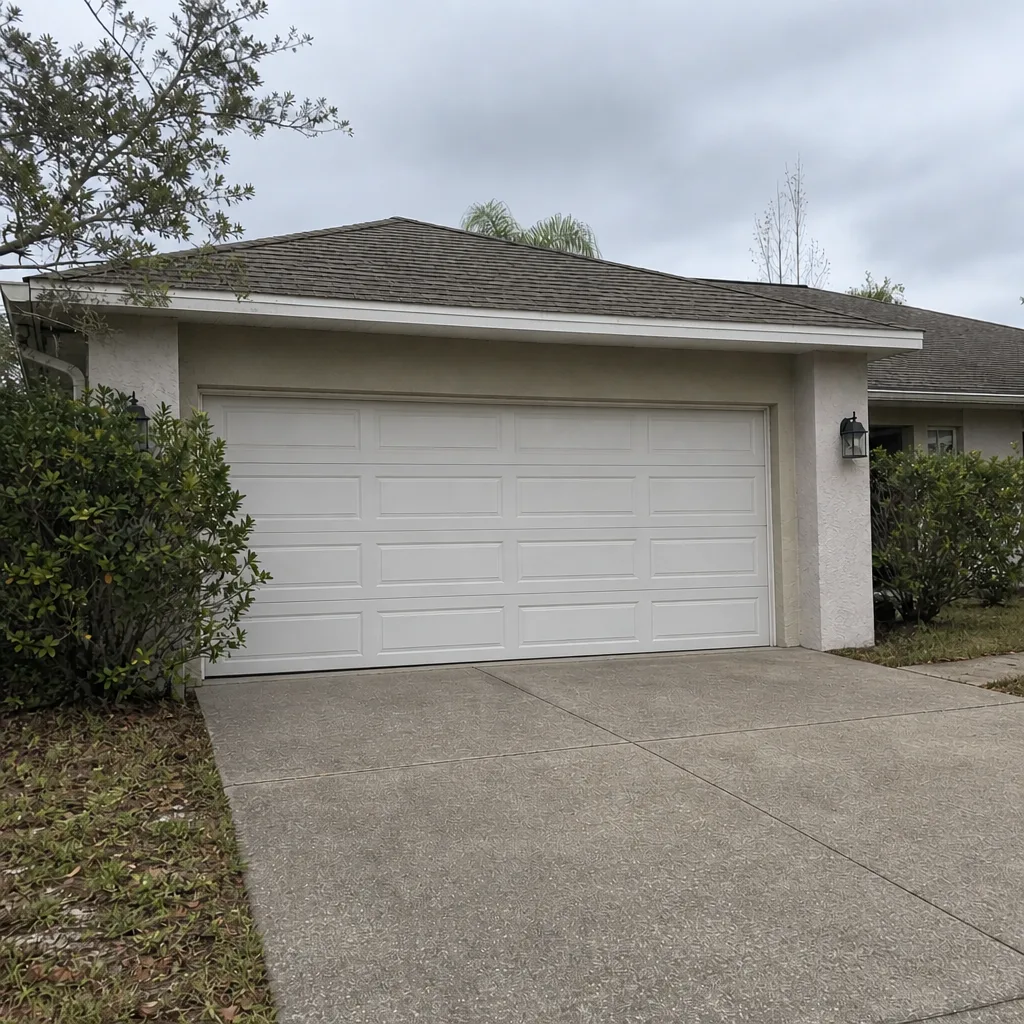 After
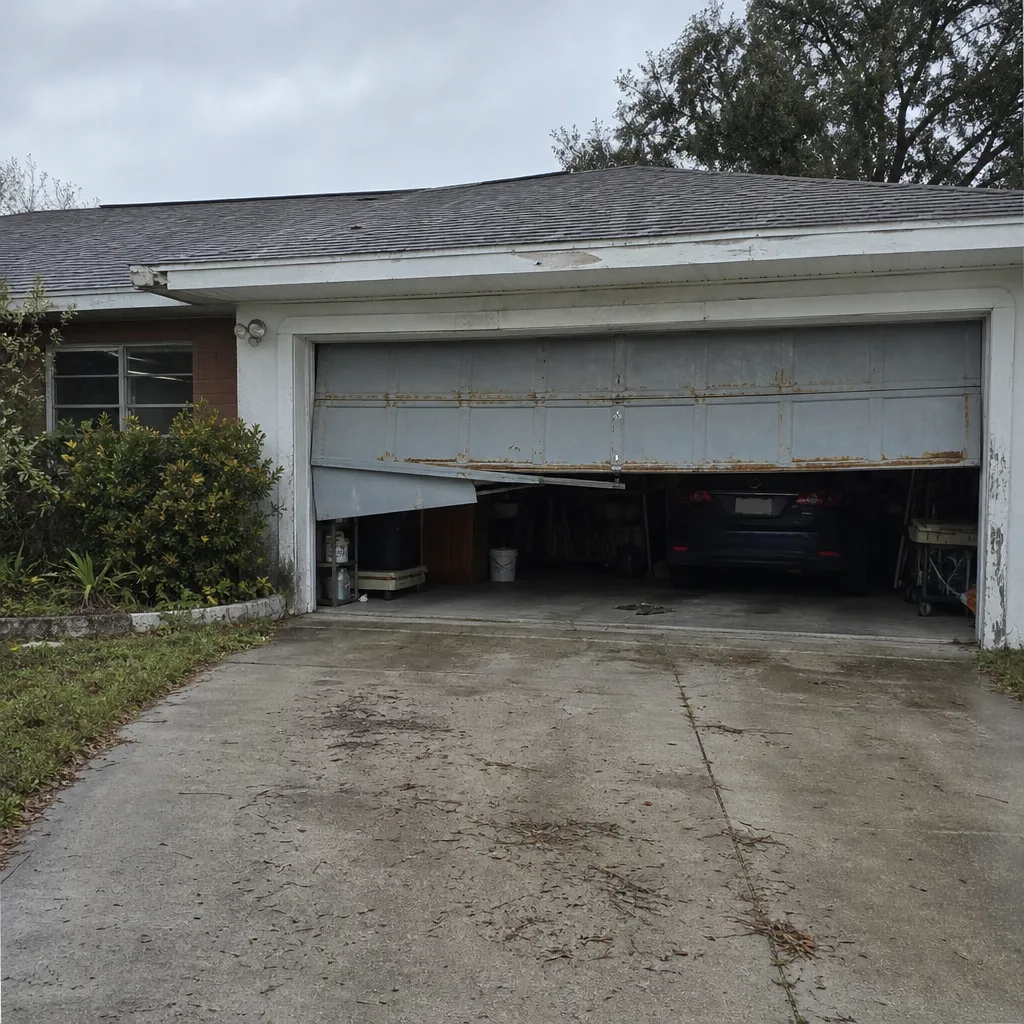 Before
 After
 Before
 After